

How To Make Paper Fringe Flowers

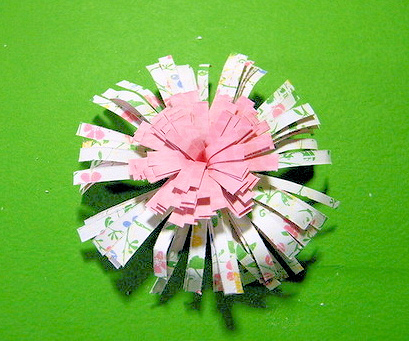
Make a Paper Fringe Flower
I am going to show it to you in 3 different sizes. Depending on how thick you want your page to be you can even layer them on top of each other.
You need to start with a strip of paper 12 inches long and either 2 inches, 1 1/2 inches or 1 inch wide.

Then you are going to score it ( or make a pencil mark about an 1/8 of an inch from one edge…I score mine.

..this is a tip on scoring if you do not have a scoring blade. I use my paper trimmer, remove the blade and use one of my rub-on sticks to slide in the slot. Just start on one end and use medium pressure making sure to stay in the slot, this will score your paper.

After you have done this, you are going to fringe your paper by cutting strips up to either your pencil line or your score mark — like this.

You are going to do this for the entire length of your paper.

Next, using a pencil, or skewer, or tweezers..you are going to start at one end and roll your paper up.

until you reach the end..then adhere your end. I run a piece of adhesive about the last in so it is adhered all the way around. When you are done it should look similar to this.

Next step is to stand it up on end and start gently opening up your flower by folding the "fringe" or little strip outward. when you are done it will look similar to this.


This could be your completed base flower, but I took mine a little further. I used my skewer to curl under the edges of my fringe and then I adhered the smallest size..a 1 inch flower to the center of a 2 inch flower with liquid adhesive.


Next , because I am bling lover and I used some of my stickles to add little dots to some of my fringe and and as a center.

and here is my completed layout with this flower.

I hope you enjoy this week's flower.



thanks, Cindy for this tutorial. I think this is the one I am going to use.