

Burlap Mini Album

how to create a burlap mini album
It's National Scrapbook Day!
Today, I have a quick tutorial showing how to make a burlap mini album. You can fill it with your favorite photos and paper crafting embellishments. So, let's get started!

Trim chipboard sheets (make as many pages as you like) to 4" x 5.5".
Next, trim burlap slightly larger to about 4.5" x 6".

Using some strong adhesive, secure all the edges to the back of the chipboard pages. Trim off any excess burlap pieces. Warning, this part can get a bit sticky due to the nature of the burlap fabric. Don't worry if the edges are not even; that will be covered in the next step!

Last, trim your favorite felt (or even fabric) to fit on the burlap-wrapped pages. I used pinking sheers for the edges and also stitched around the border of each felt sheet prior to adhering them to the pages.
Now, here are photos of the finished album!
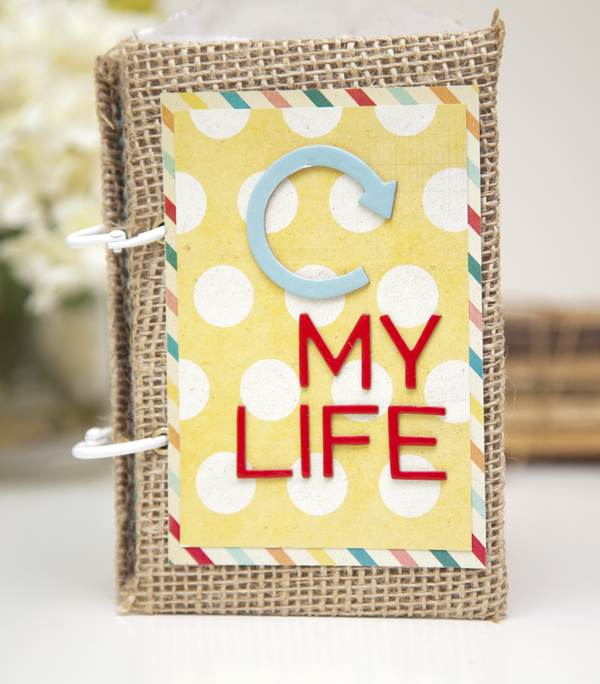
On the cover, I kept it simple by layering a couple of sheets of patterned paper, added a chipboard arrow and some Thickers for my title!
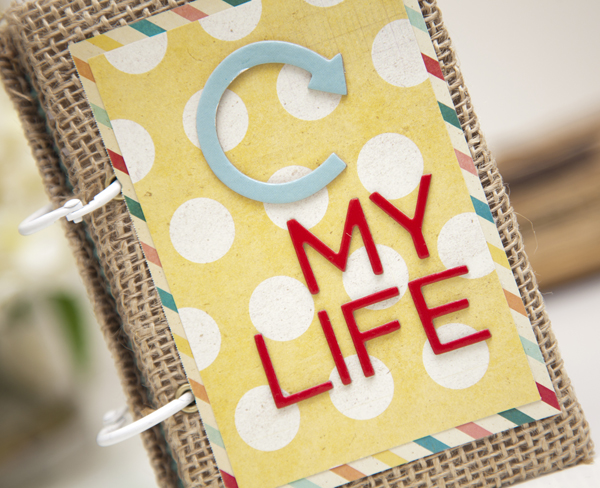
To secure the album together, I used some binder rings and also added eyelets to the punched holes for a more finished look.
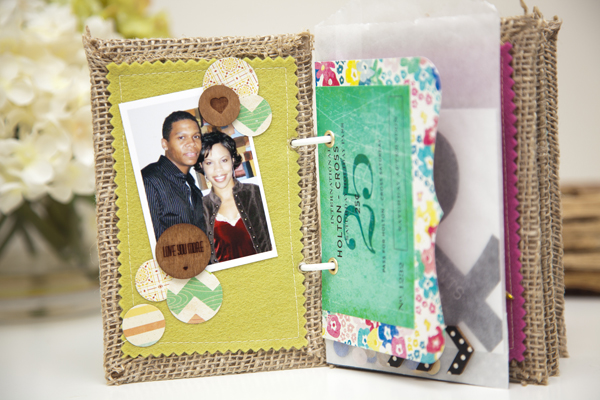
I added photos and circle punches, wood veneer on the first page! This is a photo of my husband and I soon after we were first married.

I layered some die cut shapes to make a filler page.

This is the back of the die cut shape. I added a Project Life insert and embellished it.

Here's another filler page. I used a glassine bag and filled it with more Project Life inserts and sequins. I embellished it with some washi tape covered wood veneer.

Here's the back of the glassine back page with some washi tape borders.

On the next page, I embellished the photo with some glitter star stickers.

Using washi tape, I simply added a photo, thin patterned paper strips, and a bit of journaling.

Here's an envelope filler page that I embellished with brads and a die cut word.

On this page, I added a photo of one of my favorite patterns…polka dots!!

My last couple of pages I dedicated to my efforts to exercise. I adhered a photo to a vellum envelope packed with sequins. I hand cut the ampersand from patterned paper. The filler page is a Crate Paper die cut tag.

Fill your page with lots of stuff or keep it simple. Just have fun!

Here are all the pages of the book! Love the texture the burlap offers!
I hope you make one today! You can do it!
Supplies:


