

Create A Corner Bookmark

If you look through the Gallery here, or search Pinterest, you'll find all sorts of variations of this project. There is one in our Gallery that is almost identical, {thanks Tracy!}
I just had to figure out how to make them since they are so adorable. Then once I made one, I couldn't stop! I had to try out different punches and embellishments. Well, here are just a few of them, hope you enjoy! Oh, what are they? They are book mark corners, of course!
This project was actually a Fast Scrap a few years ago at one of our crops. So in case you missed it, here it is again.
I started by gathering some of my favorite things:
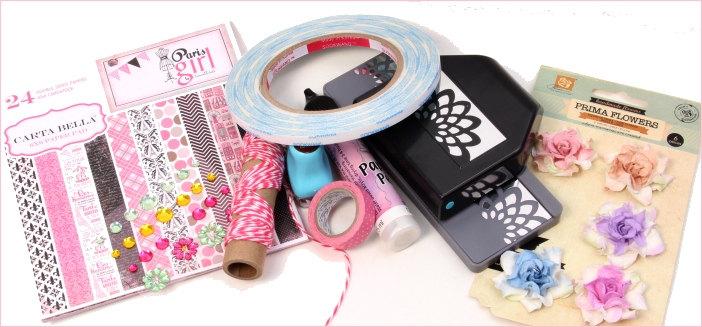
and ended up with a cute little corner bookmark like this. I'll show you how.

First, I cut a two sided sheet of paper 2.5" x 2.5" (6×6 pads work great for this!)

Then very lightly with a pencil draw lines at the half mark, each direction

Now fold the bottom two corner up to the middle line.
If you have access to a scoring guide, it will make this much easier.
Now turn the paper over and let's get to work!

Take your favorite punch and punch along one edge.
You can't see it in the image, but I did run the paper through my Texture Boutique for added texture.

I dabbed some ink on the edges to give it more definition
Turn your paper back over, remember the folds?

I cut a piece of coordinating paper in the shape of a triangle and glued to the back
Here's the back of one of the bookmarks:

Just add a little bling and your corner bookmark is finished!
Here are a few others, all using the same technique


Products Used:


This is great!! Thank you!!
Thanks for showing us this! Never seen one of these, and they are cute and useful!