

Day Camp Mini Album
Hi Cherries! Natalie here with a mini album using the new WRMK 4×4 albums brought back after popular demand!
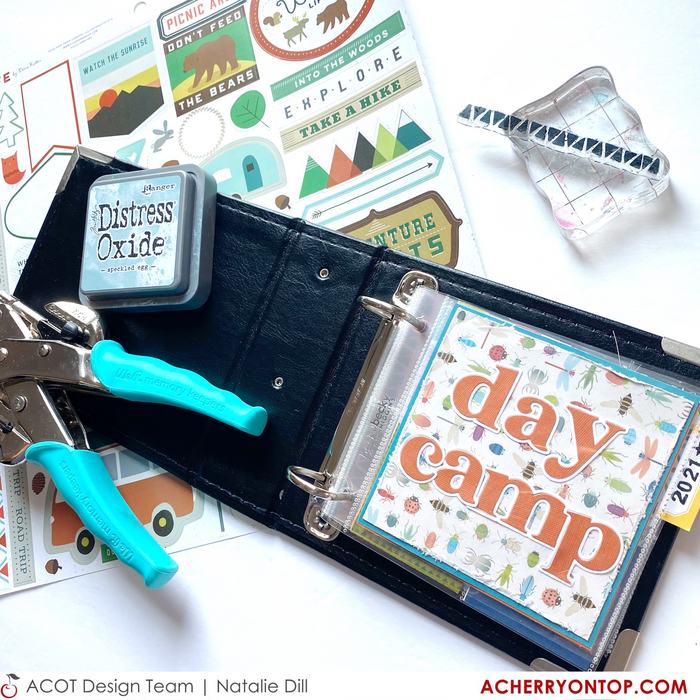
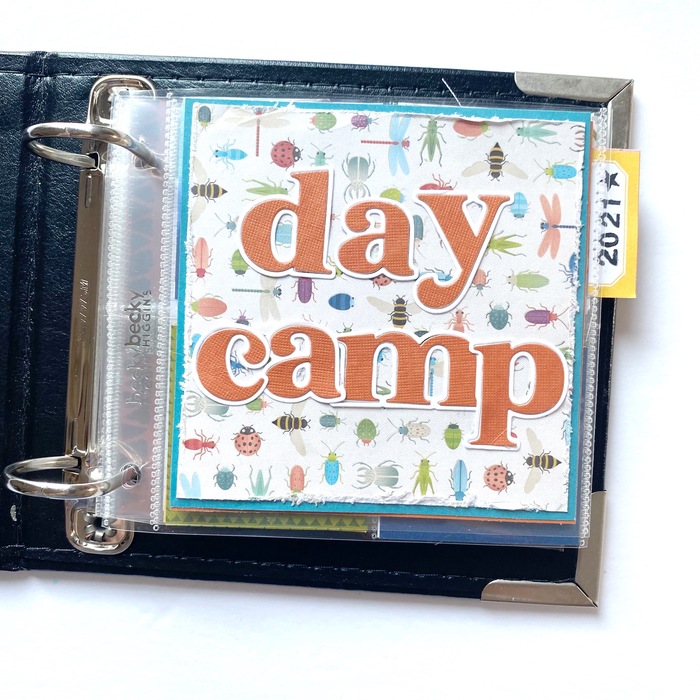
My son began day camp this summer, which we hope to be a recurring tradition. I decided to start a small album for him to remember his week each year. I will add to it every year he goes to camp and he will have a single volume to help him remember. Since I plan to add to this album each year, I added a small date tab that extends past the page protector to easily find the year’s photo.
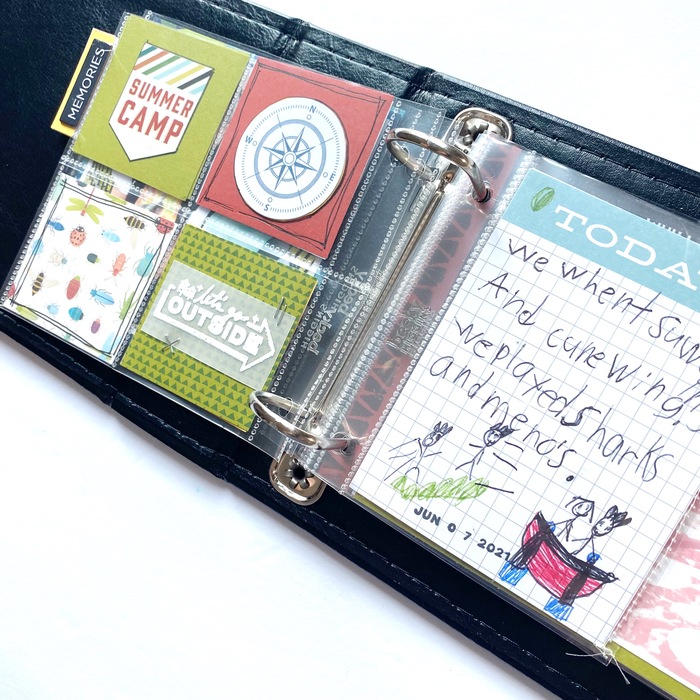
Each day when he arrived home from camp, I gave him a pocket card on which to write about his day. I told him he could also draw pictures. After he was done, I used my date stamp and sometimes embellished it.
I started with a title page using the Heather Lowercase Alphas from Pinkfresh Studio.
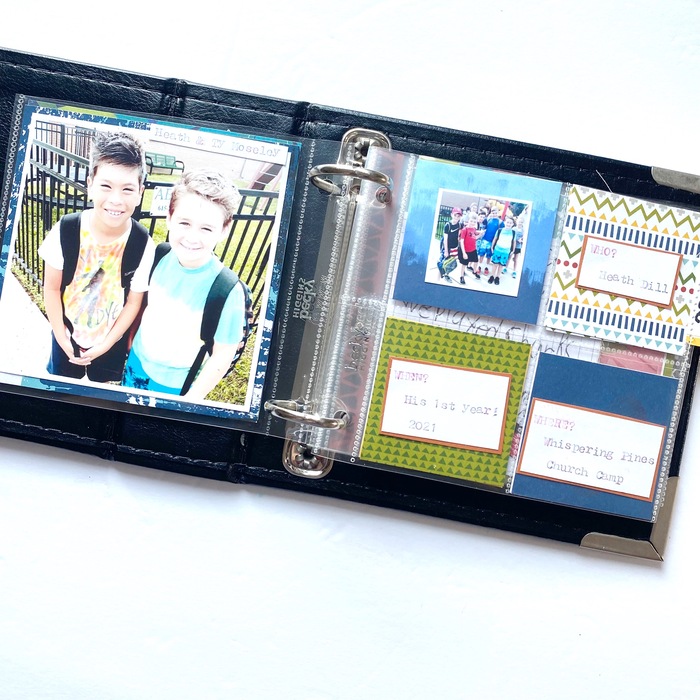
I was lucky enough to have a friend at his camp who sent me a few photos. I also made him pose with friends on the first day of drop-off. If you don’t have actual photos of your kid’s experience, you can have the child draw a detailed picture or obtain camp photos online.
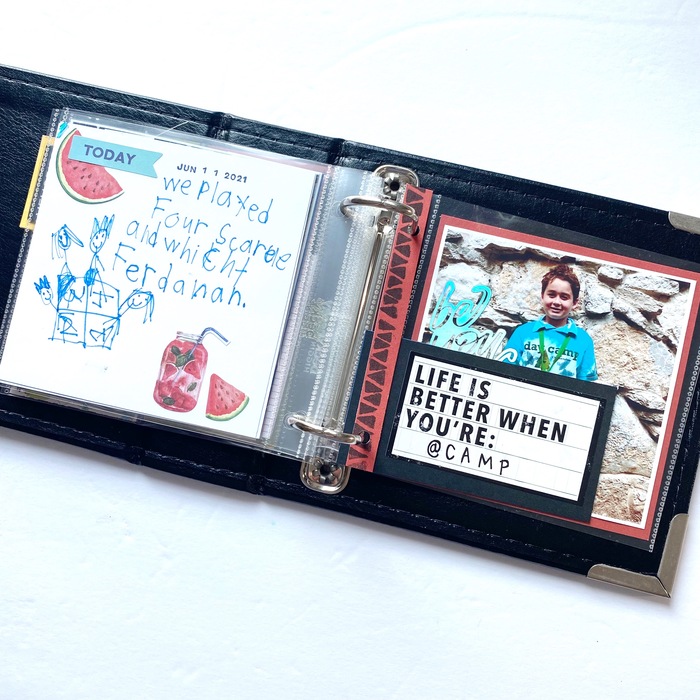
I used a 2×2 square divided page protector to house a few details and a small photo. I think it’s fun to switch up the types of pages in these mini albums to add interest to your flipping.
On the first couple of days, I had not yet decided to use a 4×4 album, so the cards I gave my son were 3×4. No problem! I just cut a 4×4 full-size protector down, sewed up the size, and boom – the 3×4 card fit perfectly. I like the different sizes as another way to add interest to the album. However, if you wanted a uniform 4×4, you could always attach the card to a 4×4 piece of cardstock.

Adding stickers to negative space in a photo is a super fun way to embellish in a mini album. Although the pages are small, you can fit small word phrases or icons to enhance your storytelling without taking away from the photos and while keeping the story and photo still within one spread.
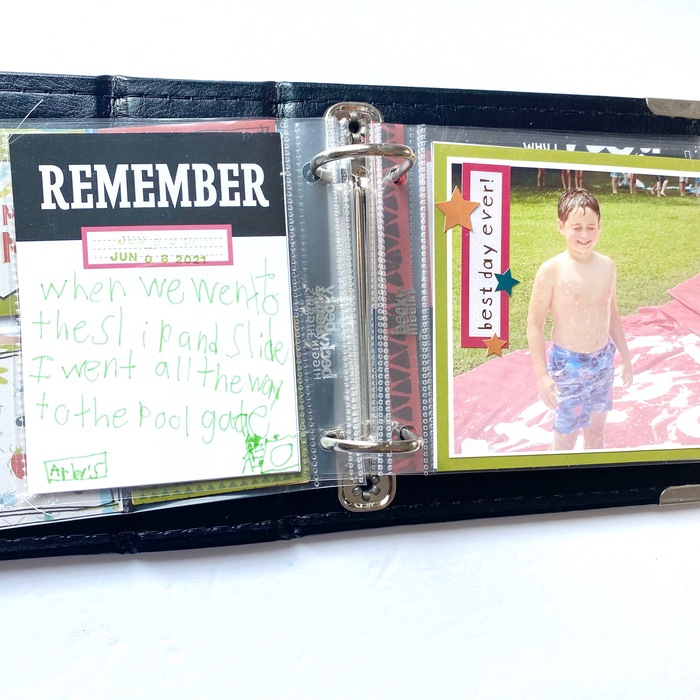
Even on such a small area, you can still find ways to repeat elements to create a cohesive look. Here I used a hexagon sticker on the photo to mimic the same shaped embellishment on the journaling card. Another way to repeat elements is to use a repeating pattern paper throughout the pages, which you will also see in the album.
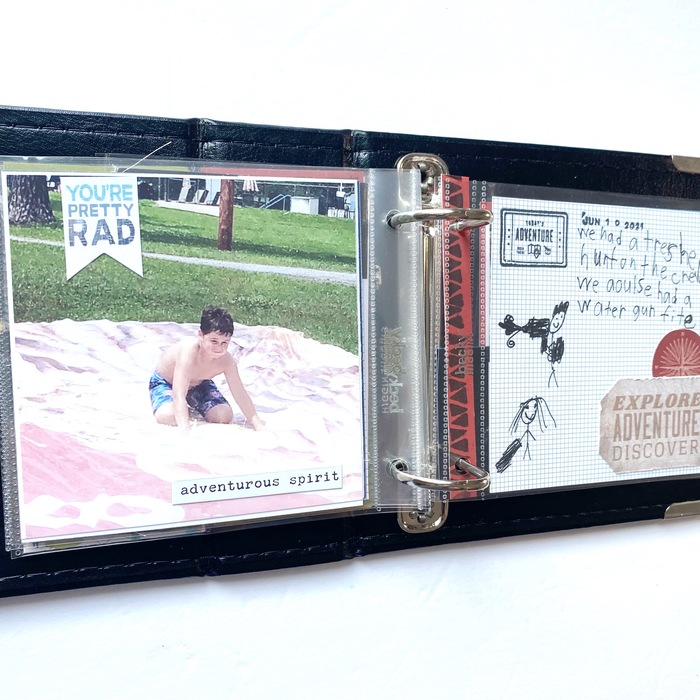
Adding bits outside of the page protector is another way to add interest to a mini album. I added a Heidi Swapp sticker to a small piece of cardstock, extended a strip to the other album ring to ensure the small insert sat properly within the album, and it created a fun intro to the last photo of this year’s album.
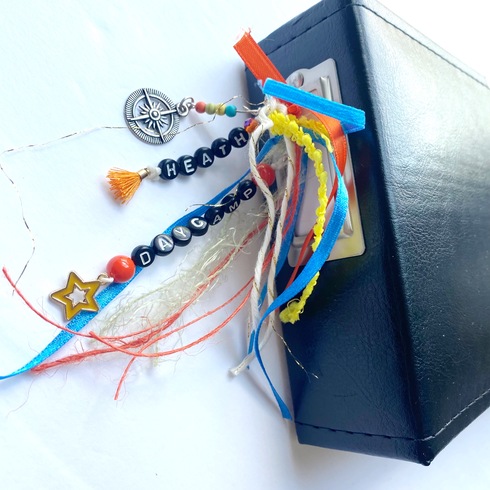
I created a small album charm with some beads, ribbon, and letter beads to distinguish this album from the one I will make when my other son attends camp and other mini albums on our shelves!
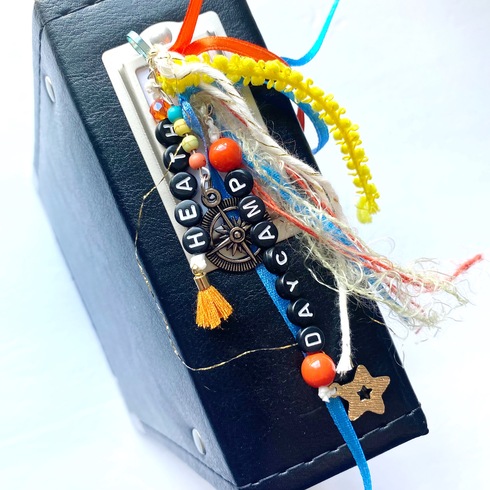
I hope you’re inspired to try these adorable 4×4 albums We R Memory Keepers have brought back into production! There’s tons of amazing inspiration online for fun mini album creations.
If you do not have a kid at summer camp to do an album exactly like this one, you can do a similar process for a child’s first week of school, or just for important school days you expect the child to have something to document. This would be a great process for scrapbooking a family vacation from a child’s perspective, or a week of staycation when a school break occurs. It would also be a great way to introduce a beginner to create their own album!
xo, Natalie


Precious!
This is adorable! I love your son’s jouranling!