Finding Your Style In Your Scrapbook Layouts
Hey Cherries!
Natalie here today with tips on injecting your personality into your scrappy pages and making them your own personalized art.

1. Add some shine!
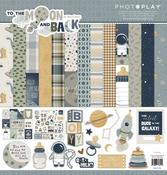
I am using the new Photoplay baby collection called to the Moon and Back and it’s pretty neutral. I decided to add some shiny interest with heat foiling.
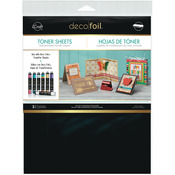
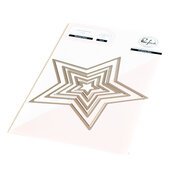
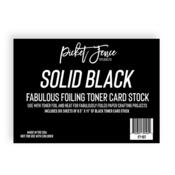
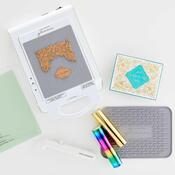
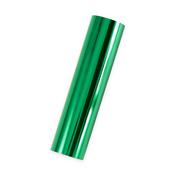
First I used a solid toner sheet with my Glimmer machine and some green foil. Then I die cut the Pinkfresh Studio nested stars from this green foiled sheet.

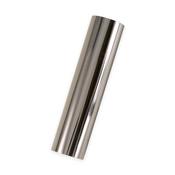
I also foiled the Spellbinders pewter foil with the Scattered Stars foil plate by Waffle Flower crafts. I foiled on dark green cardstock to use for a diecut title.
2. Personalize your title!
I keep a running list of funny title ideas on my Pinterest board when I run across one I enjoy. Using funny phrases or snarky slogans in my titles is a way I inject my personality into my scrapbooking pages.
The silly phrase “kinda bad, kinda boujee” is something I would baby-talk to my nephew in the photos, so I thought it would be a good accompaniment to these cute photos and garner a giggle when my readers flip through the album.

I die cut my foiled cardstock with the Heaher lowercase alpha dies by Pinkfresh Studio on my Big Shot. I adhered them down with Nuvo Delux adhesive.
3. Add a signature touch!
Take an overview of your layouts. Are there any specific elements or techniques that are repeated in many of them?
Splatter and distress oxides are elements I use on almost all of my layouts.
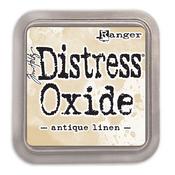
To add interest to my cardstock, I used my blending brushes to add a border with antique linen. I picked up some of the color through a star stencil with a wet paper towel. Then I used Gathered Twigs to add splatter around the cardstock border.

I added the stars and photos in a grid design and stitched on the die cuts and even added stitched details to the matted photos.

Small touches and details can add your personalization to any scrapbook collection and make your artwork your own!
I finished the layout with stickers from the To the Moon and Back sticker sheet and a few matching sequins.

I hope you’ve been inspired to tweak the scrapbook collections in your stash to inject your personalized style!

You can catch a full process video on my YouTube channel.
xo Natalie
Products Used: