

How To Use Layering Washi Tape

Have you seen all of the new washi tapes from Aall and Create yet? You use it to create full images that make perfect backgrounds on cards and art journals. Today I'm showing how they work and how I used them to make 4 different fun cards! Each roll of washi tape can get you many full images, which is perfect for card-making in batches.

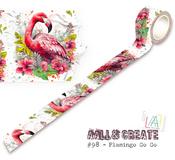
Building the images is quick and easy. You can tell where each segment starts and ends because there is a gap in the design. Ripping it allows for a transition between the paper and the washi. For the first card, I'm using the Flamingo Go Go tape.

This design is created using 4 strips. You can create so many cards with each roll of washi tape! By now I've used this flamingo design 6 times and it still looks like I have a full roll!


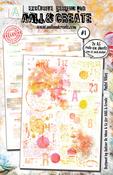
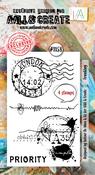
To fill in the rest of the area on the card, I used Pastel Vibes Rub-Ons and stamps with black ink. The stamps I used were Franking and Trio Cirque.

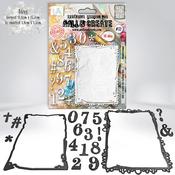
I cut out all of the designs I created with the Numberama Die and also used it to cut out a black border to frame the designs.


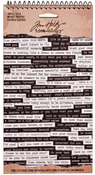
The finishing touches for these card were some black splatter and sayings from the Small Talk Sticker Book.


I had a lot of fun making these and hope you will try out this layering washi tape! If you want to see it in action, check out this short video I made to demonstrate it: All & Create Washi Tape (youtube.com)
Products Used:


That’s neat! It’s like a washi puzzle. LOL