First were the tools to make it go quicker
*Templates
Templates are much like sketches- You can use as is (if you have never before here is a great Tutorial on template usage)
You can use a template as is- OR make it work for you. Templates are not solid- and you can modify by adding more or taking away to help create the look you are wanting.
You can also flip, rotate or mirror your templates to use differently- OR to make them match for a double page spread
*Wordart
There are two types of common wordart- Black/Font and Decorated (And as discussed and seen today- A new type of template based wordart)
Using these are great ways to do your titles for your Layouts.
Using Black/Font type-
*Use as is
*Recolor/Modify by using the selection tools
* Creating a decorated wordart from the font based using recoloring and kit elements
* Using as a stamp for your layouts
-This is done by several different ways- 1 changing your blending mode (multiply, hardlight, burn, overlay)
-To give a realistic stamped effect, after applying your blend mode- Use the erase tool with a grunge based brush
go over the wordart to give a distressed look
Using Decorated-
*Use as is
* use your recoloring/color replacer option to modify to fit the layout you are working on
Using Template -
*This is a great way to create a title for your LO's when no alpha is available OR you just want something to match better
* You can use the papers or elements within a particular kit to clip as you would a LO template
* Or use different alphas to create the title for you
**Rule of thumb when doing wordart**
Treat it as you would a Photo- Accent behind your title, and embellish above. This will help give a rounded look to your title and bring even more attention to the details of your LOs
We also covered some great journaling and photo editing tips that take little time- But make everything pop that much more.
Journaling -
* When doing your layout ask yourself the basic questioning WHO, WHAT, WHEN, WHERE, WHY
* When scrapping photos that don't really have a story, but you like them anyway- Use those for "Legacy Leavers"
* Think of what you would tell your child/friend/family member when they looked at the picture- THAT is what you should journal
* When you have NOTHING to say, or do not know any history about the photos you are working with- Go based on current feelings. Use the feelings the photos give you presently to tell your own story
Photo Editing -
*Basics edits- B&W goes best with your coolers color layouts and Sepia with your warmer color layouts
*Unsharpen mask- Its the ironic tool that does the exact opposite and always helps make colors pop and details standout
*To create a focus on a particular part of a photo- Use the selection tool- select around your subject- INVERT that selection and then use the gaussian blur option
*Vignette - Using masking OR the burn tool around the edges of your photo help create this look and bring the focus center of your photos
*Color Balance- this evens out your photos and helps warm up OR cool down a photo
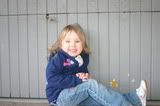
Examples of those tools:
Original After using Color Balance, Burn, Unsharpen, Guassian and new layer of Sepia half transparent
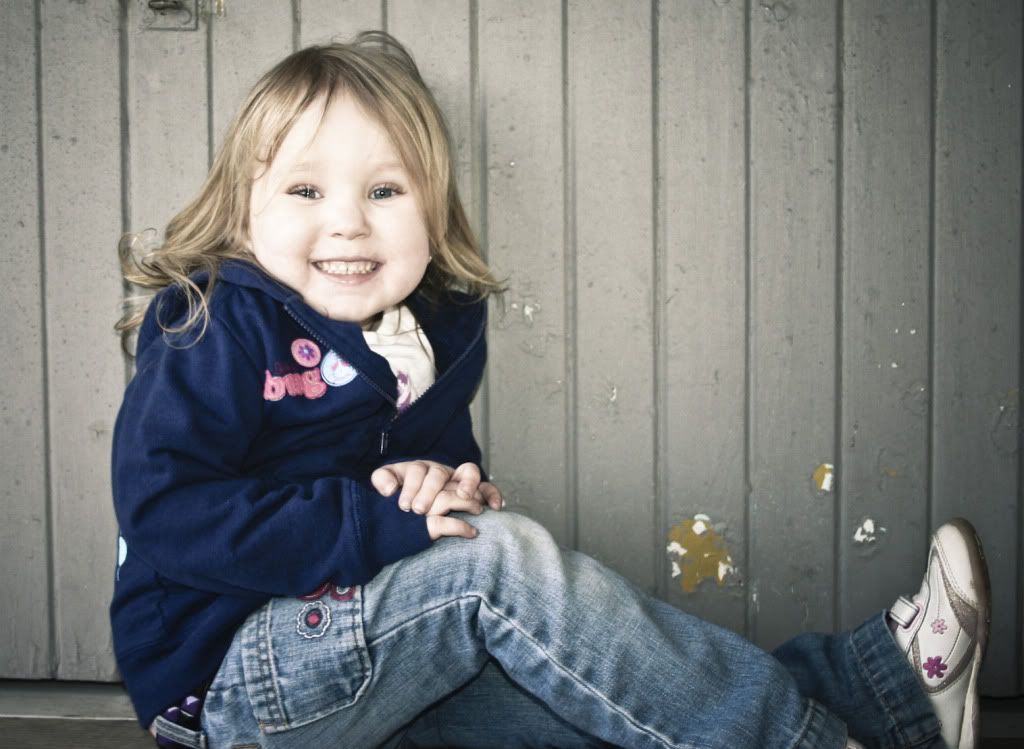
Next week we will be covering Mojo Movers (Boosting scrap motivation and getting over creative blocks)
Hope to see you all there
 And thanks for a wonderful bunch of fun today ladies!!!!