

IOD’s Beach Cottage: From Trash to Treasures

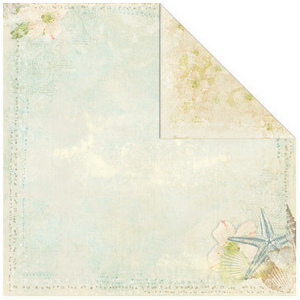
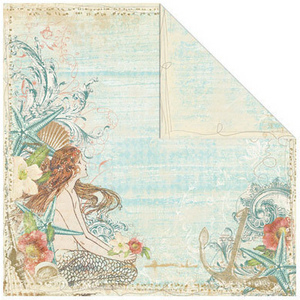
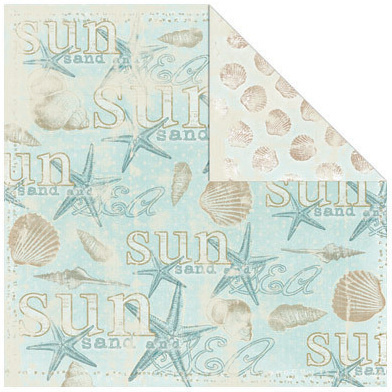
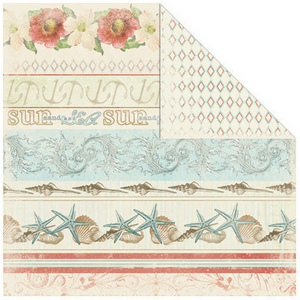
I am a collector of alterable items. I have hat boxes, paper mache balls and cones and boxes galore. It was not until I came across this beautiful line of papers by IOD did I realize what I wanted to do with one of my many cigar boxes. I wanted to turn it into a treasure box to hold my special shells. I keep the big ones I've picked up on our beach walks in a glass bowel but have a few I have just had in a drawer that were very special to me. One shell is the first my then to be hubby gave me about 17 years ago. Another is one my mother and I found before she died. Each of these has a spcial meaning to me and deserved more than to be stowed away in a drawer. Thank you IOD!

I started by sanding the paper covering the cigar box lightly to insure a better adhesion of the paper to the box.

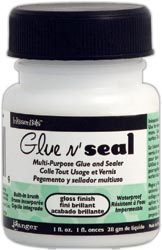
I used the lid, sides and bottom of the box as templates to cut the paper to fit. For the insides I cut the paper 1/8 less than I did for the outside pieces. I finished the inside and the outsides of the box before I did the lid. I adhered the paper to the box with Glue n Seal applied with a broad paint brush. I used a narrow roller and a bone folder to go over the papers to eliminate bubbles. When this was done, I sealed the papers with a top coat of Glue N Seal. I allowed the inside of the box to dry before I did the sides and the outside of the lid.

I used a gold Krylon ink pen to 'gilt' the edges of the box but any gold paint will work as well. When the gold dried, I applied the paper to the sides of the box following the same steps as above for adhereing the papers. I added the two ornate corners when the sealer had set.

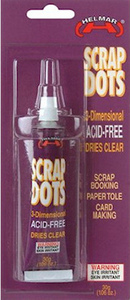
I used the Helmar's Scrap Dots to attache the corners. While corners have grips that go into the material of the cigar box, Scrap Dots insured they would not come loose.
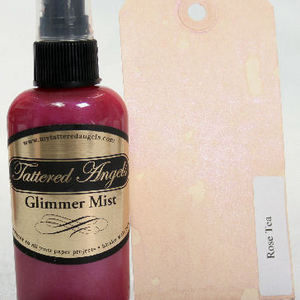
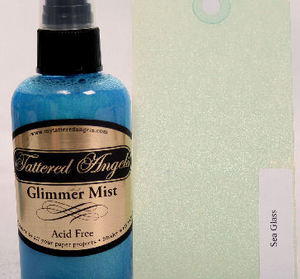
I dyed the tulle by using a solution of 1 part water to 2 parts Glimmer mist. I used a disposable tin to mix the 'dye' in and submerged the tulle into the mixture for about ten minutes, turning it from time to time. I air dried the tulle but it can be dried with a heat gun as well. I fussy cut the flowers, the shells and the mermaid out of the papers. I placed one end of the tulle under the background paper and adhered that side. I glued the paper across leaving the right hand edge unglued until I could tuck the other end of the tulle. Next, using a paint brush, I brushed the Stickles across the tulle and allowed it to set. I placed the remaining fussy cut pieces, one by one, onto the paper and tulle, sealing each with the sealer as I went. I added more Stickles to the mermaid's tail and to the flowers and added gems to the center of several of the flowers. I used the Scrap Dots to give the pieces different heights on the cover. The sealer protected them from being torn.
I love my new treasure box for my special shells and am so glad they are no longer hidden away. Thank you for looking.






Very sweet box! You have so many tips and tricks rolled up into this beautiful project! Thank you!
WOW!!!! Beautiful amazing job Jules!
Very pretty! My daughter would love this for shells that she collected while in Florida.
omg…I soooo adore this. SO MUCH.
Beautiful! This looks amazing!
Jules that is so beautiful! Thanks so much for sharing it with us and for all the detailed instructions!
Your work is awesome!!! I picked up 4 cigar boxes at a garage sale and now I know what I will do with them.
This is so pretty, Jules! Great idea!
you are a woman after my own heart…I too have many boxes ready to be shown some love like you did here. I love the beachy dreaminess of it.. GORGEOUS!!!