

February Cherry Box Mini Album
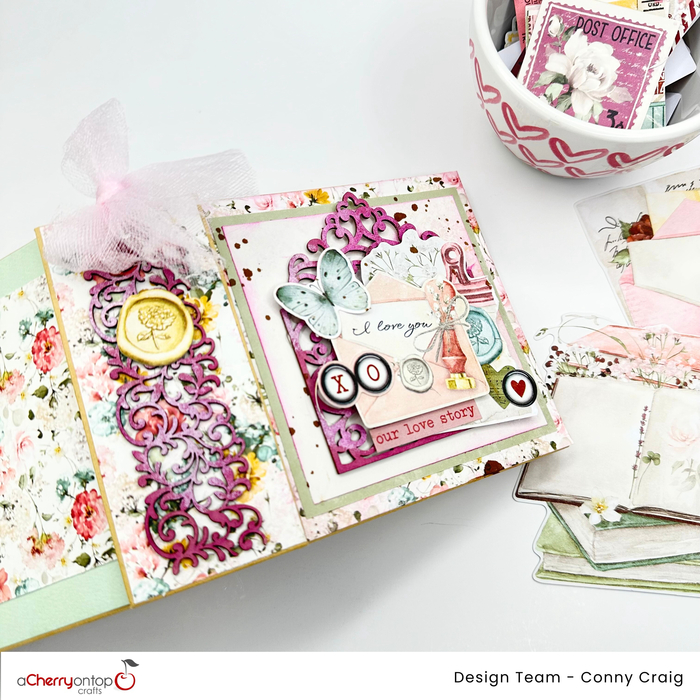
Hey Cherries! It’s Conny, and I’m so excited to share the February Cherry Box with you. Inside, you’ll find a treasure of goodies to get your creative spark! We’ve got stickers, beautiful papers, rub-ons, die-cut pieces from Simple Stories, a Memory Hardware Tiny Journal, decorative chipboard embellishments from Prima Marketing, and a stencil to help you add those finishing touches. So, let’s get crafty and create something beautiful together!
I began by painting the decorative chipboard with Catherine Pooler’s ‘Be Mine’ premium ink and using TCW’s ‘Pink Lemonade’ stencil butter. Once done, you can let it dry and set it aside. Next, prepped all the pages for the inside of the album. The interior pages should be 4″ x 4″ as per the instructions on the album packaging. It leaves a little border all around. I used the same ‘Be Mine’ premium ink to ink the edges of most of the pages.
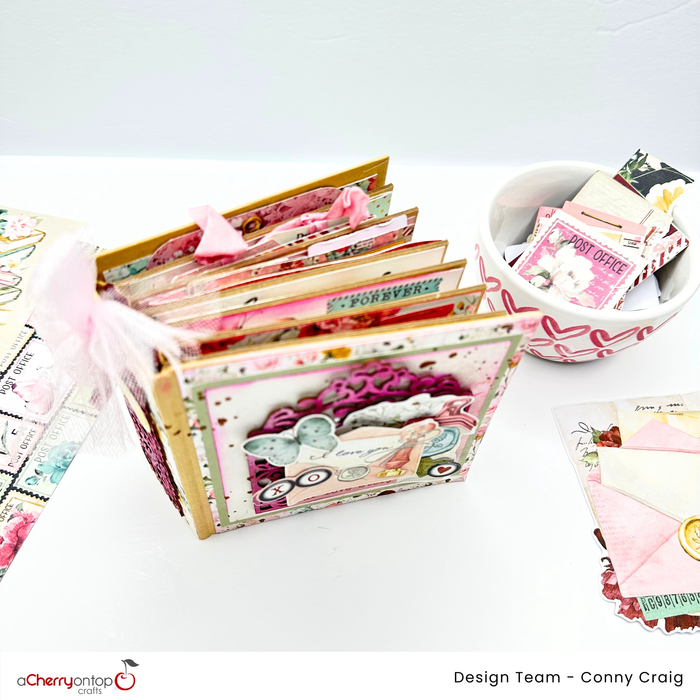
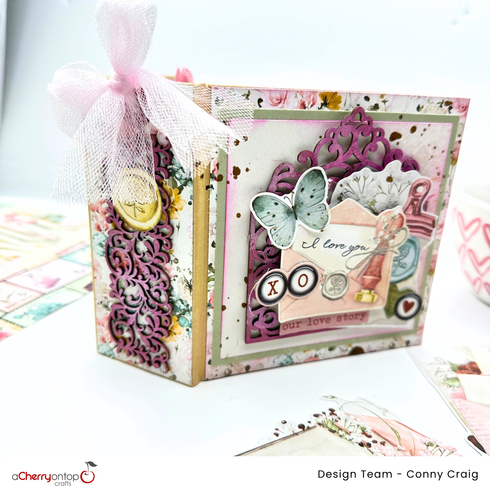
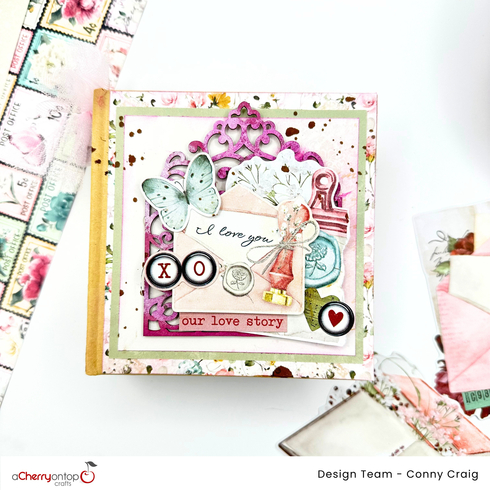
For the exterior cover pages, I used a floral pattern as the background and layered two more papers on top, leaving borders around them. Next, I added a decorative chipboard and embellished it with cardstock stickers and ephemera pieces. Lastly, I sprinkled Ranger Distress Spray Stain in Vintage Photo to complete the cover page. The spine was also embellished with the decorative chipboard and stickers, and I tied a tulle bow to finish it.
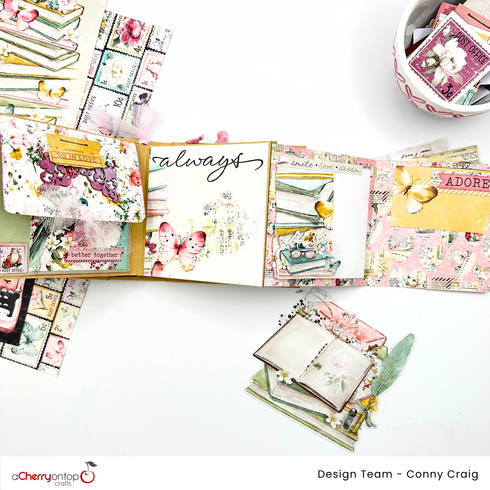
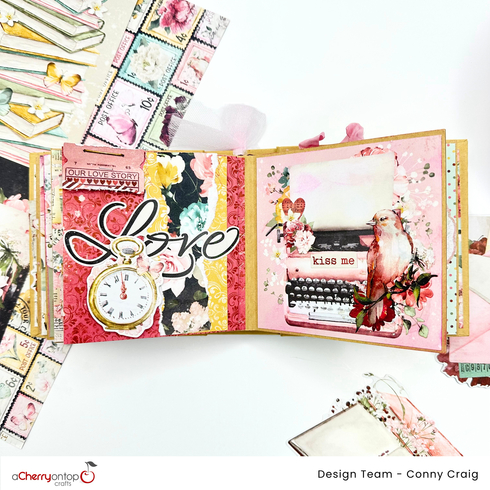
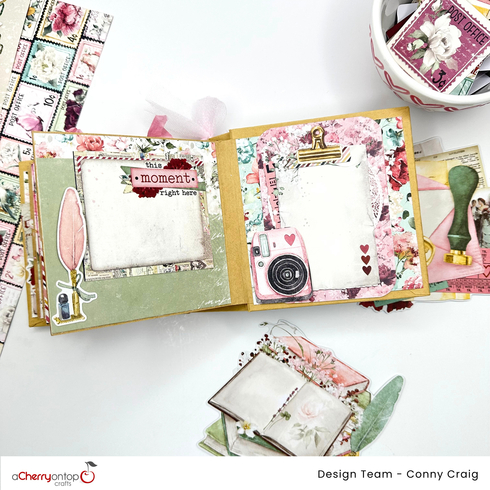
On the first page of my album, I added flip-up pages with 2″ x 2″ elements from the 12″ x 12″ paper. For the other pages, I layered the ephemera pieces by creating clusters to the left or right of the album or by layering the rub-ons. These are my favorite, especially on a small mini album like this, or if you don’t like dimension, these are perfect for that.
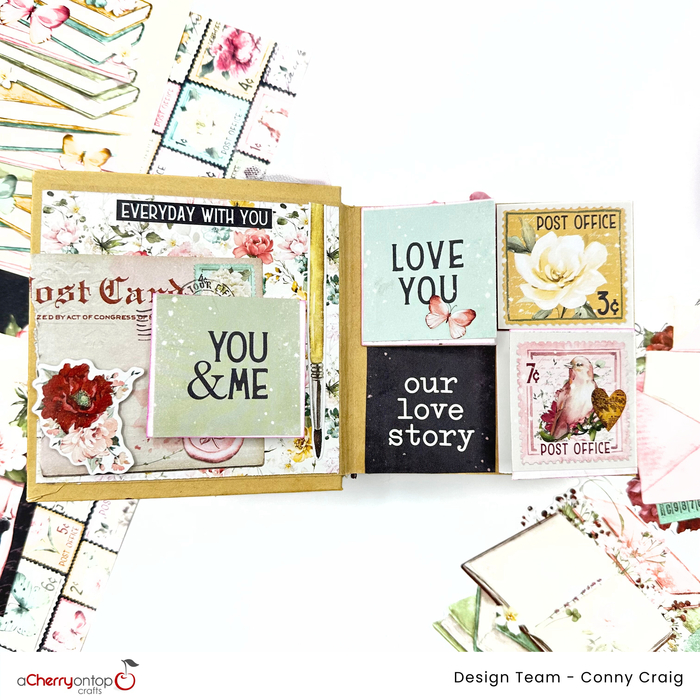
Next, I added an accordion page that measures 4″ X 12 ” and scored it at 3 3/4″ and 7 3/4″. The next page to the accordion is 4″ X 4″ cards from the cut-apart 12″x12″ cardstock. I layered a rub-on and stickers on them.
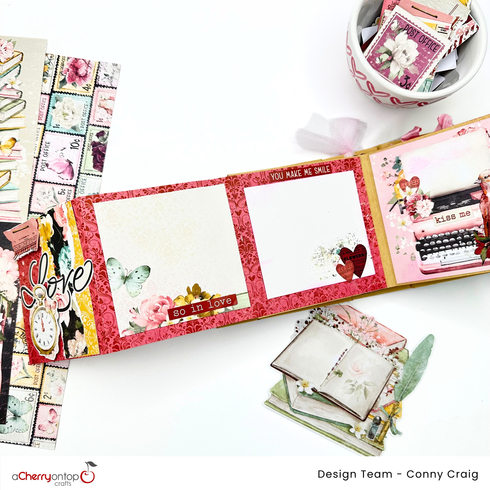
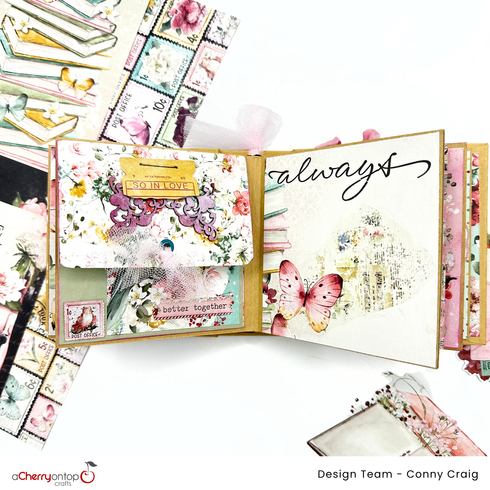
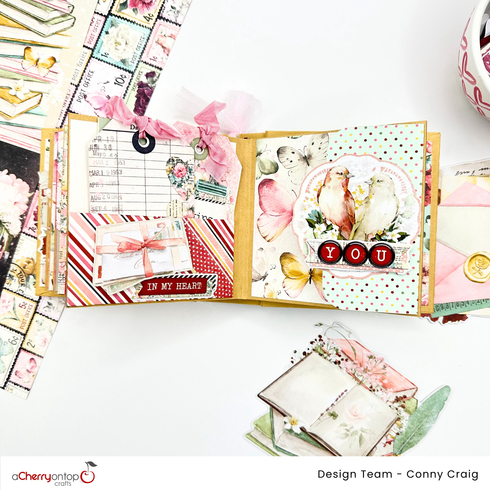
After that, I added a pocket to add journaling cards or tags. To create the pocket, you need cardstock measuring 5″ x 2 1/2″ and score it at 1/2″ on all sides. Fold them in and cut diagonally on the edges where the scored lines meet. I embellished the front of the pocket with cardstock stickers.
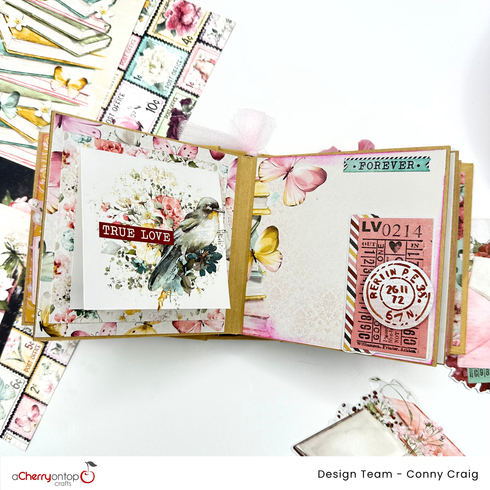
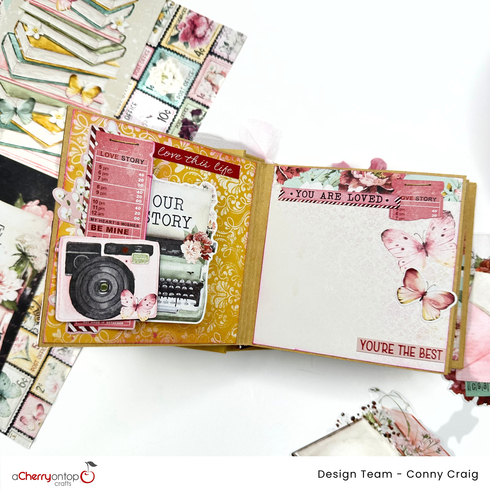
The page next to the pocket measures 4 inches by 6 inches, with a score line at the 4-inch mark. The corners are rounded and embellished with cardstock stickers. That concludes this mini-album tutorial. We are excited to see your creations using the Cherry Box.
Lots of love from Conny!
Subscribe before January 25th to receive the February Cherry Box!


gorgeous album! Love all the layers, dimension, and ephemera here. Love Simple Stories!