

Photo Waterfall Scrapbook Layout
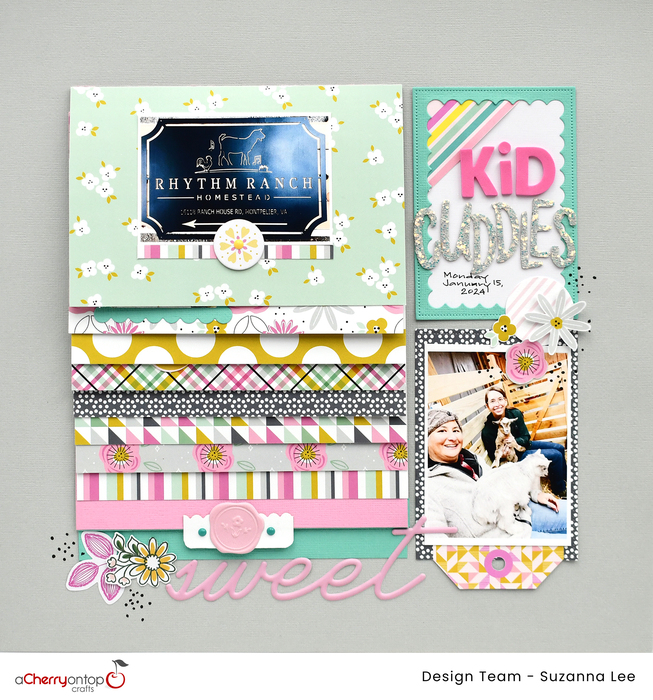
Good morning Cherries! Suzanna here today to share an interactive layout created using a new paper pad and metal die set from Catherine Pooler. The reverse waterfall I created allows me to put many photos on one page! Reverse because you push up to expose or flip through the pages.
Here’s my creation;
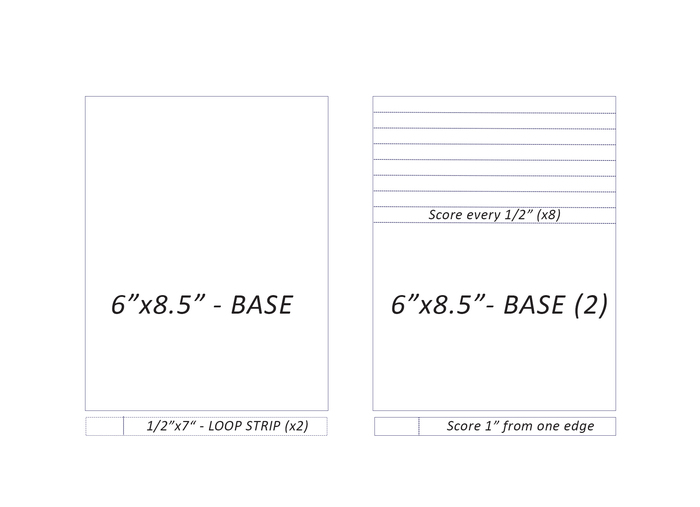
First things first; creating the reverse waterfall! If you watch my Instagram Reels at all, you will see that I have a tutorial on how to create a reverse waterfall using 3×4 pocket cards. It went at lightning speed and was difficult to follow. The construction of this reverse waterfall is much more viewable and followable – technical terms, my friends! LOL!
The measurements that you will need to cut are as follows;
And this is the result;
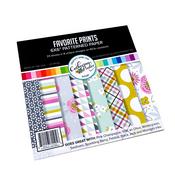
I cut the 6×6 papers from Catherine Pooler’s Favorite Prints down to 6×4 pieces and used each of the eight patterns available. They make a lovely cascade of patterns. BUT, you could use 6×4 pocket cards or photos too.
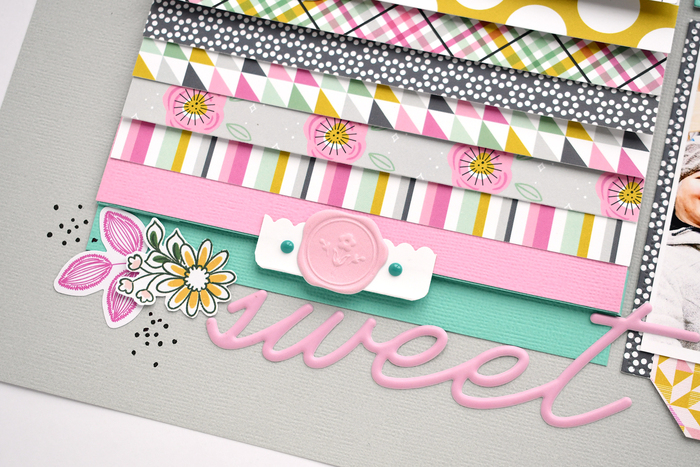
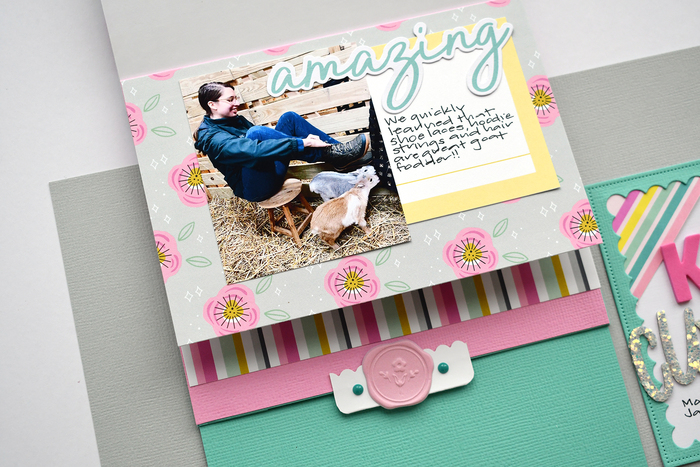
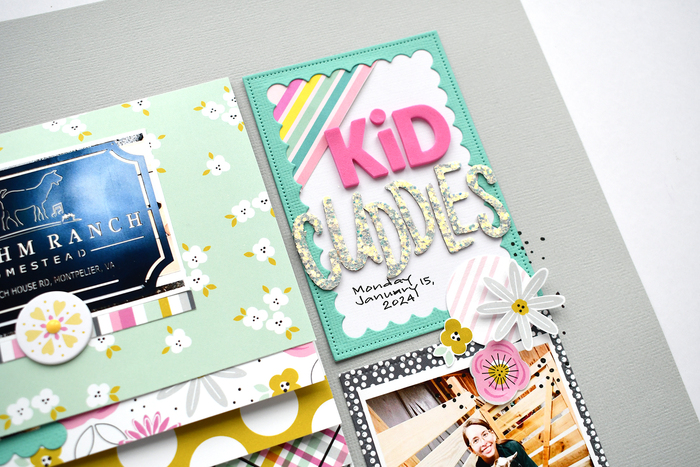
As you can see from the photos above and below, each of the “pages” contains a photo of various sizes. I used the Dots &Scallops metal dies (also from Catherine Pooler) along with some goodies in my stash that I ordered from A Cherry On Top to add a few decorative elements to each photo. Aren’t these kids cute? They were so fun to spend time with and this reverse waterfall was a great way to document many photos on one page!
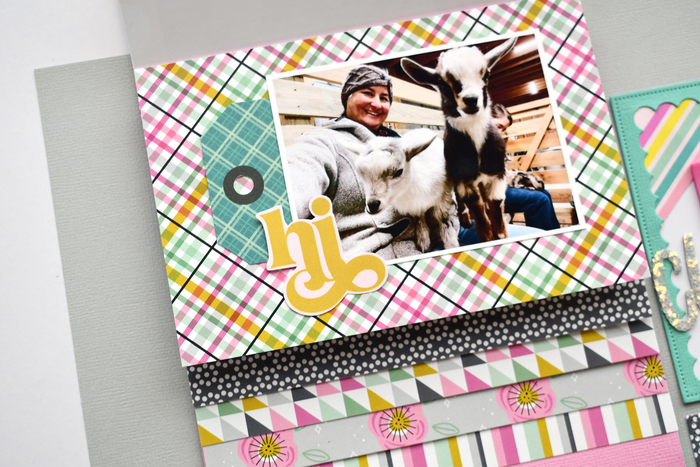
The same dies were used to create the framed spot for the title (top rectangle on the right) and the photo frame (Bottom). The best part is, I can use them over and over again for other projects! Be sure to check out my personal YT channel for a process video of how to create your reverse waterfall! You can find my channel HERE. Thanks for stopping in today! See you back here next time.

Products Used:


Love love love this!!!