April Eclipse Memory Planner

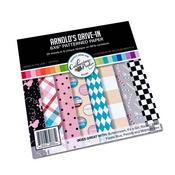
First I grabbed some black cardstock and cut it down to size for my classic Happy Planner. Then I got patterned paper in bright yellow dots and checkered black and white and cut out large circles (6 1/2 and 5 1/2 diameter) to re-represent the sun and the moon. I cut them in half and layered them in the corner of the page. I used the April paper from Year in Review collection and trimmed it down to just the April title to create a pocket. You can do this by using red tape around the edges of the paper, and fixing it to the page leaving the top open, so you can slide items in and out.

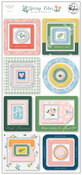
Next, I glued the pictures to the page and added a rectangular decorative frame around a photo of myself and the kids, and a round chipboard yellow frame around a picture I took of the eclipse just to give it a little more focus and attention.

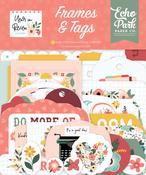
I grabbed some star stamps and oxide inks and added some decoration to the black paper. I made sure to stamp off the edge of the page to give it a little more variety. Then I found a title and a decorative floral piece from A Year in Review and added it to the page all along with a chipboard number eight to mark the date – April 8th.

I typed up a little journaling about the day and the word eclipse and printed it out to add to the page. On the edge of the journaling, I added two tags from A Year in Review to serve as decoration, a pull tab, and an interactive element. I also tucked a pair of the solar glasses that we wore in the pocket so that I could have the memorabilia along with the page. Now it’s ready to punch and put into my planner. This way I can flip the page to this special day and have it documented in my planner!

Thanks for checking out my memory planner page!
Mariel
Products Used: