

Pocket Frame Tutorial
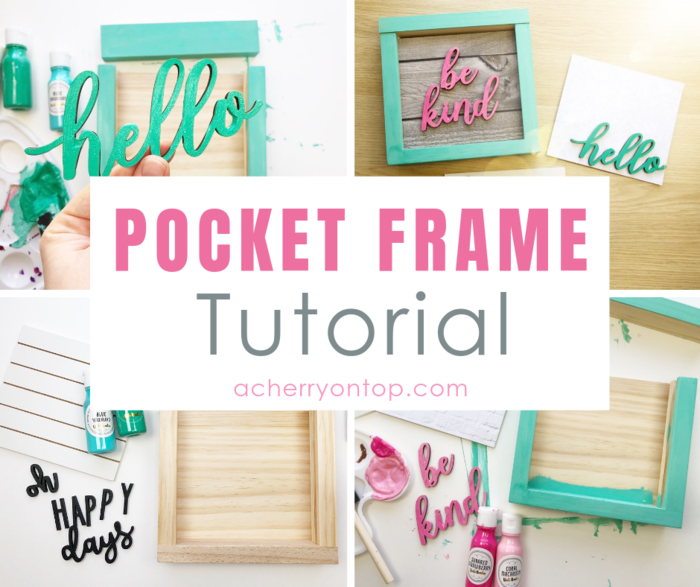
Pocket Frame Tutorial
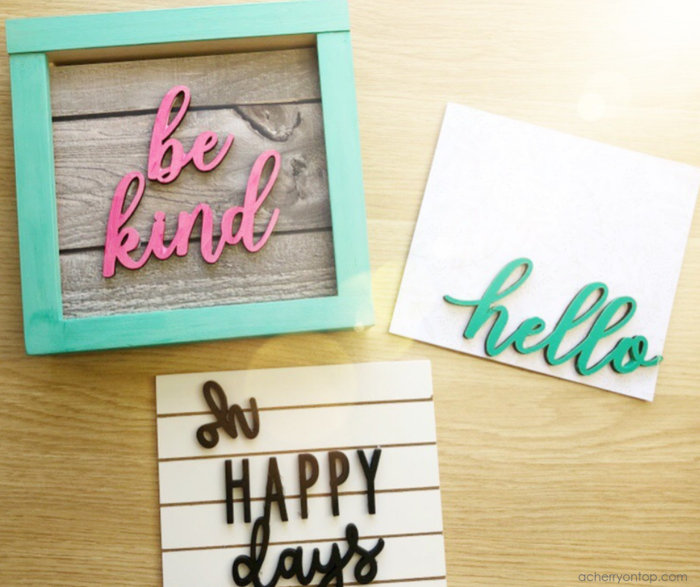
Want an easy way to change up your decor? Use a Pocket Frame! These frames from American Crafts have a detachable magnetic top and two tracks to slide in a variety of inserts. The hardest part is deciding which inserts to use since they’re all so cute! (Hello there is even a shiplap one!) The best thing is that you can easily change out the insert with whatever season or mood you’re in. In this tutorial I make three different designs to use for one of the frames. They were so easy and a lot of fun to make! I kept them simple, but you can of course add on any embellishments you want.
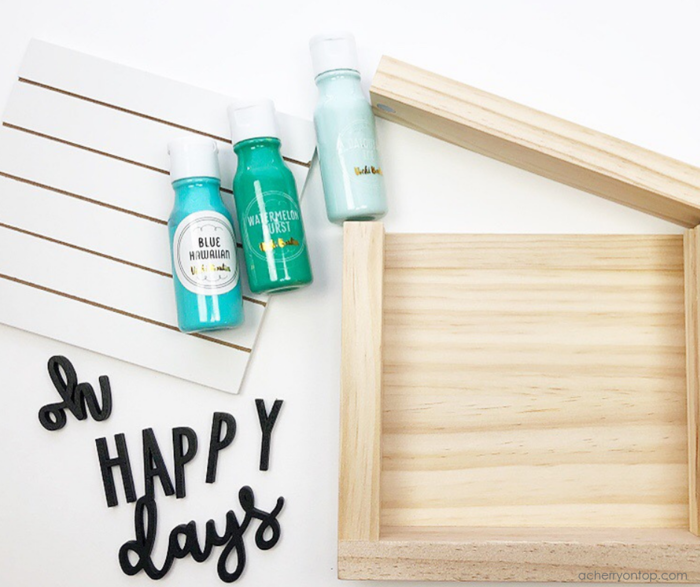
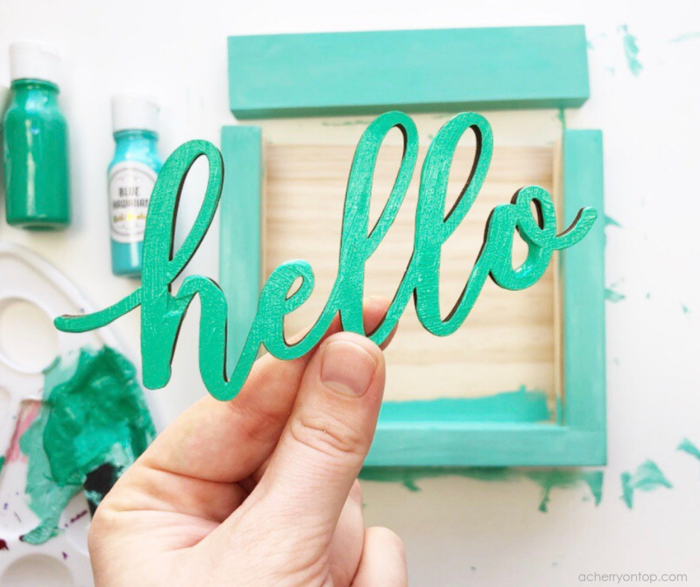
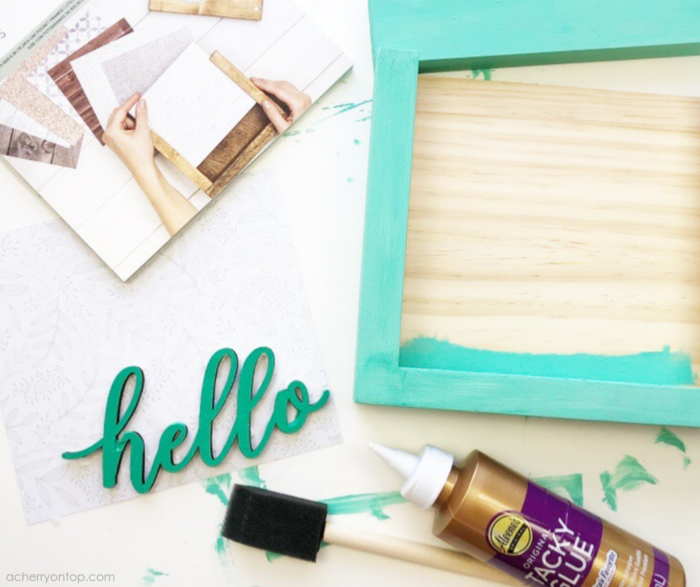
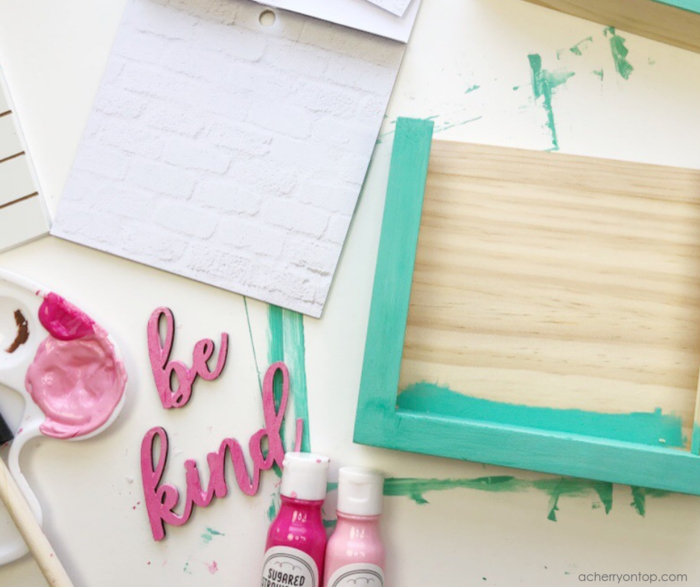
1) The first step is to paint your frame! I used acrylic paint from Vicki Boutin, but any acrylic or craft paint will work fine. I mixed a few together to create a fresh mint color that just says spring to me! I painted all the sides and the top of the frame. I didn’t paint the back or the inside of the frame since they won’t be seen. I’m all about saving time!
2) I started on the first design and painted the wooden hello. I used a little bit more of the darker green so that the hello would really pop out.
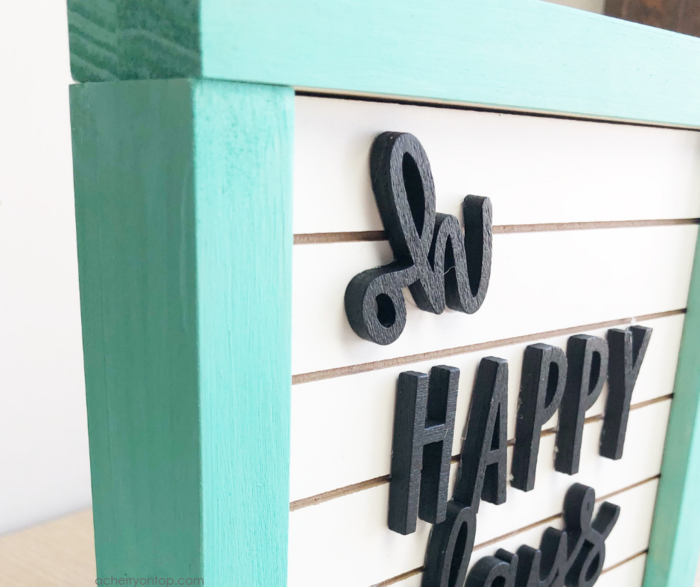
3) While waiting for that to dry, I started the second design ‘oh happy days’. This is from an insert kit so it came with the words and the shiplap background piece. All I had to do was glue the words on. So easy! (Just don’t burn your fingers with the glue gun as I did. Actually it would be easier to not use the glue gun at all. Tacky glue works just great!)
4) When my hello was mostly dry, I glued that onto the insert paper that I chose. I glued this paper onto a piece of cardboard to make it sturdy. (You can see me doing that in the video with a piece from the packaging.)
5) For my third design I painted the ‘be kind’ words in pink acrylic paint. I chose a wood paper to use as the background, and backed it with cardboard. I used tacky glue to attach everything.
And that’s it! These inserts are very quick to make!
Products Used:


Fabulous how-to article!